4.1. HTML template#
You must use the following template for your HTML files
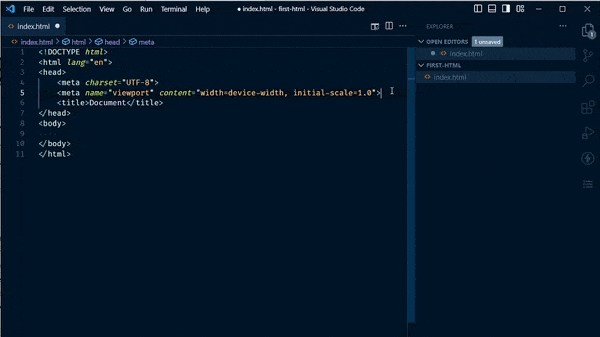
<!DOCTYPE html>
<html lang="en">
<head>
    <meta charset="UTF-8">
    <meta name="viewport" content="width=device-width, initial-scale=1.0">
    <meta name="description" content="Add a short description fo your page here">
    <title>Document</title>
    <link rel="stylesheet" href="https://cdnjs.cloudflare.com/ajax/libs/normalize/8.0.1/normalize.min.css">
</head>
<body>

</body>
</html>
Tip
The video at the bottom of this page steps through this process and also shows how to use VS Code snippets to streamline the process.
4.1.1. Generate this template in VS Code#
Use VS Code’s built-in Emmet tool to generate the template.
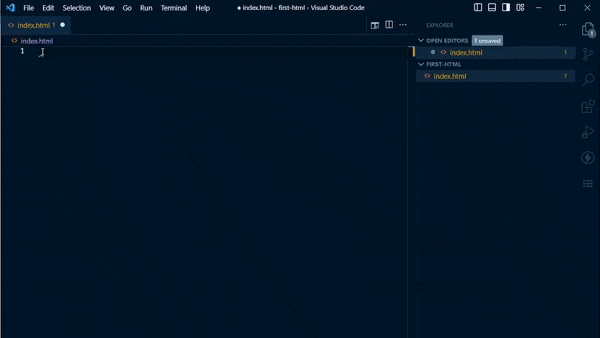
Create a new HTML file#
Create a new file and save it with an .html extension. Emmet won’t work unless a file has an .html extension.
Generate the template with Emmet#
Start typing html and Emmet will give you suggestions. Select html:5 and hit TAB.
Tip
HINT: an even faster way to generate this template is by typing ! and hitting TAB.
Add a title and description#
Change the content inside the <title> tags to your web page title.
Add a <meta> description tag. Use Emmet to add the meta tag. Type meta, select meta:desc, and press TAB
Tip
Add a description of your site in the value of the content attribute; use 150 characters or less. This value, and the page <title> text will show up on search engine results describing the page.
Add a CSS reset file#
Once we start using CSS, you need to add a link to normalize.css. I’d suggest adding it to your first assignment, since we will eventually add CSS to that file.
To add normalize.css, paste this line into your <head> element:
<link rel="stylesheet" href="https://cdnjs.cloudflare.com/ajax/libs/normalize/8.0.1/normalize.min.css">
or find the link by googling “normalize cdn” or copy the link directly from the normalize repository: https://cdnjs.com/libraries/normalize
You can streamline this process by creating a VS Code Snippet, which I demo at the end of the video below.